Tuesday, February 21, 2017

Home School in the Woods Ancient Greece Review

HISTORY Through the Ages Project Passport World History Study

We received HISTORY Through the Ages Project Passport World History Study: Ancient Greece from Home School in the Woods to review. Ancient Greece is their newest title, but in the past we have used their Middle Ages history study. There is also Ancient Egypt, and Renaissance and Reformation. Ancient Rome will be out next year.

HISTORY Through the Ages Project Passport World History Study

Each of the Project Passport History Studies are in-depth and provide lots of materials. They are available as a download, or on a CD. We received the download, which comes as separate files and you have to piece it together yourself. The download is inexpensive. It may look intimidating, but there is a helpful guide included. I generally print lessons as we need them, rather than all at once, since we have to pay for printing. But I highly suggest printing it all at once and getting it properly sorted before beginning to use it.

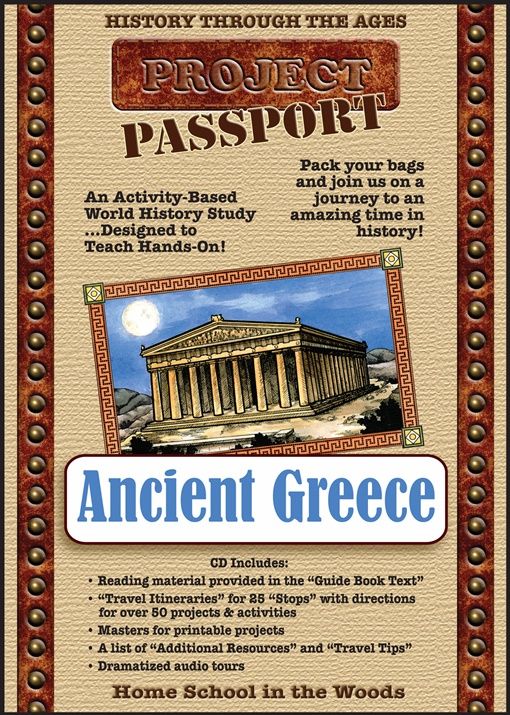
Each of these World History studies contains 25 "stops." Each stop is a lesson. Some families complete a stop per day or a stop per week. We average about 2-3 stops per week, about 30 minutes for each lesson. Older students may require more or less time, because they may be doing more research. We use these history lessons to introduce this time period, location, historical figures, and landmarks. We had the added bonus of fantastic pictures to go along with our study that their grandmother took last year of Greece and all the famous statues, locations, and landmarks. We also picked up books from the library to read on the days we did not complete stops on.

You start out by creating a luggage folder, which is kind of like a lap book. There is also a passport, travelogue, and timeline pages. My kids are just beginning to write independently, so I encourage them to write what they can, and I help with spelling. We also have a journal that they are using to write their own story in, based on the lessons and what they have learned about Ancient Greece. Most are about the myths we have read, but some involve historical people. We love how hands-on Project Passport is. There are so many different types of lessons, and it's easy enough to customize the lessons to fit the needs of children of different grades.

There are also maps, postcards, newspapers, family trees, and cook books (my daughter's favorite lessons are always the ones that involve cooking). There are so many different components to Project Passport. They go over clothing, jobs, government, people, fables, poetry, constellations, heroes, weapons, and so much more. If you are looking for a history unit study, look no future. There is so much packed into this unit study. You really get a fantastic idea of what it was like in Ancient Greece. We haven't finished our unit yet, but we are already planning on finishing with a play based on their favorite Greek hero, Cadmus, and a Greek feast.

We enjoy using Project Passport because there is so much to use and it's perfect for all types of learners. There are many hands-on activities, arts and crafts, writing prompts, and it's fun! I had one teacher in school who stood out because he made history fun to learn, so that's what I look for in a history curriculum. We do add some of our own stuff, which is used to research things that Project Passport teaches about. And the best part is when we are at the library and my children are excitedly teaching the other kids about Ancient Greece, or telling the librarians about all the fun stuff they learned.

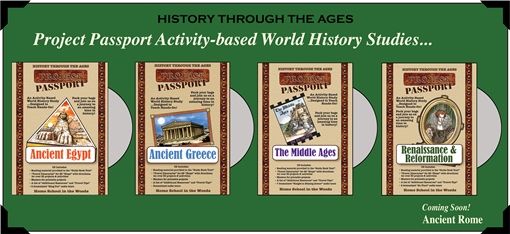
I highly suggest checking out Home School in the Woods. They have much more to offer, including: Timeline Materials, Map Sets, Time Travelers Activity-based U.S. History Studies, Activity-Paks, Lap-Paks, and Activity Studies.

HISTORY Through the Ages Project Passport World History Study

Be Social!

Facebook ~ Pinterest ~ Google+ ~ Twitter

@HSintheWoods

Click on the banner below to read more reviews from the TOS Crew. 

HISTORY Through the Ages Project Passport World History Study Reviews

Crew Disclaimer

Wednesday, January 4, 2017

The Beginner's Bible Review

The Beginner's Bible {Zonderkidz}

We received The Beginner's Bible from Zonderkidz. Our version is the new version, with updated 3D artwork. The classic edition was originally published in 1989 and has been a best seller with over 25 million copies sold. 
The Beginner's Bible {Zonderkidz}

The Beginner's Bible contains stories from the Old Testament and the New Testament, including: Noah's Ark, Ten Commandments, Jonah and the Big Fish, Baby Jesus is Born, Lazarus Lives Again, and The Last Supper, among many others. There is a total of ninety-six stories. The stories vary in length, usually from three to seven pages. There is 511 pages, with the final few pages used for a dictionary. 

This Bible is ideal for beginner readers and younger elementary aged children. My own children are aged six, five, and 7 months. We read some of the stories, which they picked out based on the pictures in the book. They aren't as familiar with the stories, because we don't practice this faith, however we do learn about Christianity because most of our family are believers. This way my children know about the faith and teachings. They enjoyed the stories and we printed out coloring pages and activity pages from the website to work on after reading some of the stories. The reading suggestion list was helpful, since it had recommendations on stories to read during Christmas: An Angel Visits Mary, Baby Jesus Is Born, Shepherds Visit, Simeon and Anna Meet Baby Jesus, The Bright Stars & Three Visitors. The reading list also has suggestions on what to read on Easter, during spring, summer, and on Thanksgiving, and New Years.


My oldest reading to my youngest.

There's even a snack ideas printable, if you want to pair food with a story. Such as animal crackers while reading Noah's Ark, or goldfish while reading Jonah and the Big Fish (Stauffers actually has Whales Crackers, which would be more fitting).

The Beginner's Bible {Zonderkidz}

I think children will be drawn to this book because the artwork is colorful and inviting. The stories are short, which is good for younger children with shorter attention spans. The font is large enough for a beginner reader to read easily. Each story also tells you where you can find the story in the Bible. Example: The Brave Queen: Esther 1-10. So as children get older, they can transition to the Bible and read the full story. This also helps families with children of different ages. Younger children can read the story in this book, while older children can use a regular Bible.

This book would also be perfect for children attending church, since they can look at the pictures and read the stories while their parents listen to the sermon. Church groups can also use the printables found on the website to keep younger children busy.

The Beginner's Bible {Zonderkidz}

This children's Bible contains all the stories Christian children are familiar with, from Noah's Ark, to David and Goliath, to Jonah and the Whale. There were also a handful of stories I didn't recognize, such as "Chariot of Fire" and "Naaman is Healed."

The Beginner's Bible {Zonderkidz}

We've read about two dozen of the stories in this book so far. My daughter has been more interested than my son, and I've been about to teach her more about the people and time periods in the book. We were able to add events to our "History of the World" timeline.

The Beginner's Bible {Zonderkidz}

You can also find games and activities, a section for parents and teachers, and additional products on the website. There are lots of great coloring pages, mazes, and games for kids. There's also a free iPad app with stories and games. Homeschoolers can use these materials for lessons.

The Beginner's Bible {Zonderkidz}
Overall, we enjoyed this product. The stories were kid-friendly and did a great job introducing the people and events that are important to Christian faith. We will continue to read the stories through the year and use the coloring pages to go along with them. 

Be Social!

The Beginner's Bible {Zonderkidz}

Crew Disclaimer

Friday, December 23, 2016

Scented Felt Hand Warmers

We are from New England and are expecting snow next week. So I decided to make some hand warmers! I knew we'd be in and out of the house throughout the day shoveling, so I knew hand warmers would come in handy. They were really easy to make, and they smell great!


Disclosure: This post may contain affiliate links for your convenience. 

To make Felt Hand Warmers, you will need:

Felt (I used 2 1/2 inch squares for children and 4 inch squares for adults)
Essential Oil (I used Spearmint Oil - the minty smell is amazing on a cold day)
Embroidery Thread (I used DMC Embroidery Floss)
Uncooked Rice 
Embroidery Hand Needles
Sharp Scissors


For each hand warmer, you'll need to cut out two squares of equal size. Or any shape, really. I was planning on making lavender scented heart shaped hand warmers for next month, in time for Valentine's Day. Because I expect we will still have plenty of snow by then.


I used a blanket stitch, but you could use a whip stitch if you prefer. I'm sure there are many more creative stitches, but I just like the look of the blanket stitch on felt projects. 


I used 1 tablespoon of rice per child sized hand warmer and 2 tablespoons of rice for each of the adult hand warmers. I mixed in a few drops of spearmint essential oil. We used brown rice, since it's a larger grain.


Once they are finished, all you'll need to do is pop them in the microwave for 25-50 seconds, let them sit for a few moments when they are finished (please be careful, they may be too hot) and then pocket them. They will keep your hands toasty warm!


We look forward to trying our new hand warmers out!


Note: One reader suggested adding ceramic pie weights to the hand warmers. It will keep them warmer for longer. Has anyone tried this?

Stay warm!

Friday, December 16, 2016

Ribbon Wrapped Embroidery Hoop Tutorial


This simple cardinal cross stitch quickly became a fun project to make! I learned a lot about wrapping ribbon around the embroidery hoop through trial and error. Now I can't wait to make more finished cross stitch projects like this!

Disclosure: This post may contain affiliate links for your convenience. 

To make this project, you'll need: 
DMC Embroidery Floss (666, 352, 437, and 310)

I started out by practicing a few wraps around the hoop with the ribbon. Once I liked the placement, I glued the beginning piece of the ribbon to the inside of the outer hoop, near the opening. 


You'll want to space the ribbon apart, so it is not too thick, otherwise when you place the cloth between the two hoops, you won't be able to close it.


You'll also want to make sure the ribbon is not bunched up in places. It should be smooth and tight around the hoop.


Once you reach the other end of the hoop, glue the underside of the ribbon to the hoop. I closed the hoop with the screw and then debated how to create a bow and some way to hang it.

I then fitted the aida cloth into the hoop and trimmed the excess fabric. Go ahead and use fray check glue if you are worried about the cloth fraying. If it's tight in the hoop and you don't expect it to be taken out, I wouldn't worry about it. You could also use glue to secure it to the hoop, but that may damage or discolor the fabric. I did not use either.

I ended up wrapping the ribbon around the screw, looped the ribbon to about 3 inches, and then created a folded bow in the front, right above the screw. I did add a small dot of glue between the bow and the loop to keep it from slipping. I tucked the end of the ribbon underneath the middle of the bow and secured it with glue.


And there you have it! Super easy! This project took about 1 and a half hours to stitch, and another hour to finish. 

Thursday, December 1, 2016

Stuffed Felt Alphabet


I recently made a custom Etsy order for a fellow blogger, Heather at Crayon Box Chronicles. She requested a set of felt letters for her adorable baby girl - so I created a set of rainbow letters! I used a simple, easy-to-read font in uppercase letters that are about 3".


Disclosure: This post contains affiliate links for your convenience.

I used bright shades in red, orange, yellow, green, blue and purple felt. I did alter the I from the original font, but I kept the J as is. You can either hold the paper letter to the felt and cut around it or use a disappearing ink pen to trace it and then cut it. 


See the difference in the J? I'll probably change the J in the future.


I sewed along the edges using a blanket stitch and filled them with Poly-Fil stuffing. I'm thinking about using Poly-Pellets for a future project. They are weighed stuffing beads, which would be great for sensory-sensitive children and could be used for all kinds of activities.


Aren't they lovely? This was such a fun project for me! I love creating educational toys for kids!


Updated:I found this adorable patterned felt at Target! It was fun fun to make this new set!


My kids love the designs.


I usually use a thread color that matches the felt, but this time I went with white on all of them and I love how they turned out,


Message me at my Etsy store if you ever want a custom order created for you!
Related Posts Plugin for WordPress, Blogger...